From birthdays to weddings to showers to bachelorette parties (I won't mention what my girlfriends put in my bachelorette pinata to keep this blog PG ;-) ), pinatas are fun for all ages.
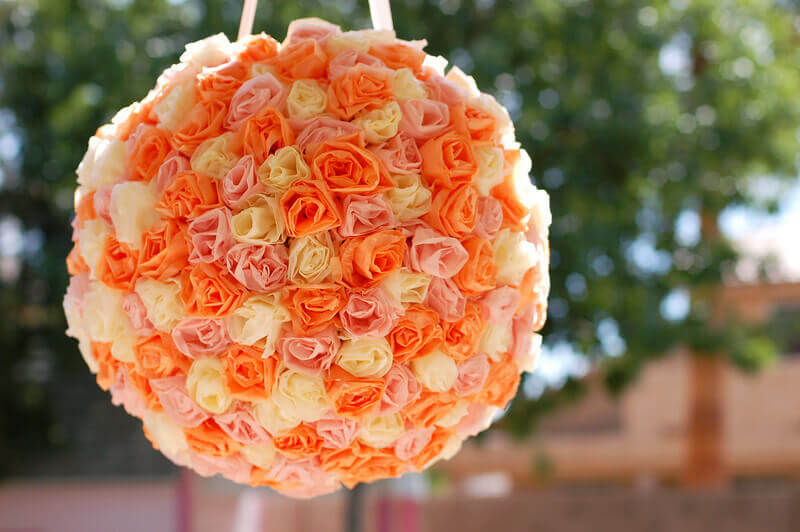
The pinata I made for my daughter's Cornish Fairy birthday party would be spectacular for any number of events. Wedding? Bridal shower? Baby shower? What fun!

Materials for Making a Rose Pomander Pinata
- round balloon
- glass filled with stones to act as a weight
- tape
- newspaper cut into strips
- wallpaper paste
- tissue paper
- stapler
-
Making a papier mache pinata is simple, but does take several days (including drying time).
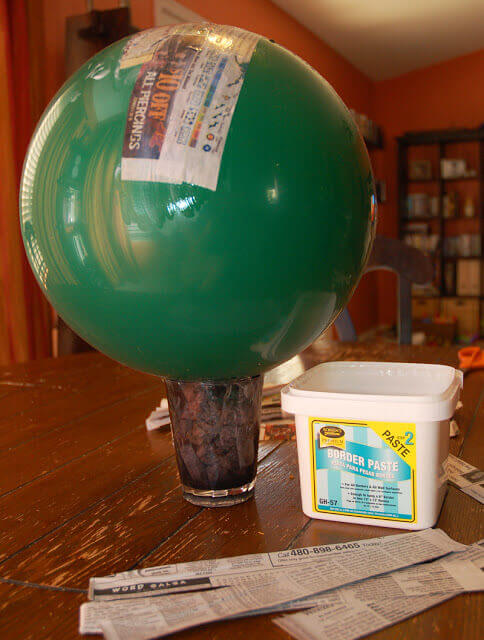
1) Tape your balloon, knot side down, to the glass filled with rocks. This provides a weight and stabilizes the pinata as you're making it. Don't worry about the hole--that's where you'll fill the pinata when it's done.
2) Dip strips of newspaper in the wallpaper paste, wiping off any excess. Smooth on the balloon, covering the entire visible surface. Pay extra attention to covering near the base, where the glass meets the balloon. That's where you'll end up drilling holes and threading ribbon to hang the pinata, so you want it to have some extra strength.
3) Allow each layer to dry before adding another layer of newspaper. Criss-cross the strips of paper to make the pinata stronger.
4) Cover the pinata with at least three layers of newspaper. I did four, and it held up very well through two rounds of fairies whacking it with a stick. If you're doing a painted surface to your pinata, use white paper or paper towels for your final layer of paper. You'll have to use far less paint to get good coverage that way.
Once the pinata form has been made and is completely dry, cut away the tape and pop the balloon inside. Ta-da, a basic pinata!
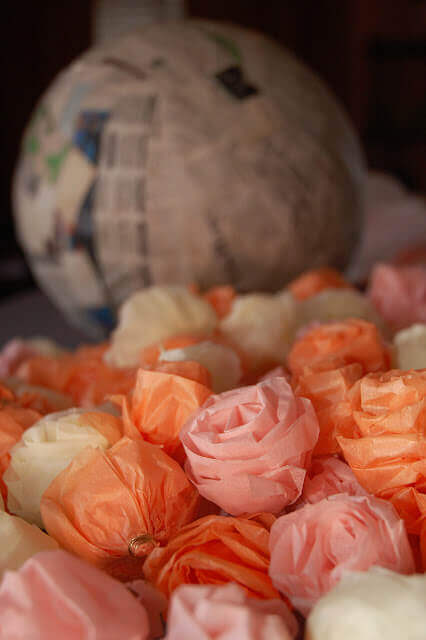
You'll need a lot of tissue paper roses to cover a pinata. Way more than you'd guess. I made what I thought was an excessive amount for my pinata...and covered only half of it. In the end, I used about 300 tissue paper roses to cover the entire pinata.

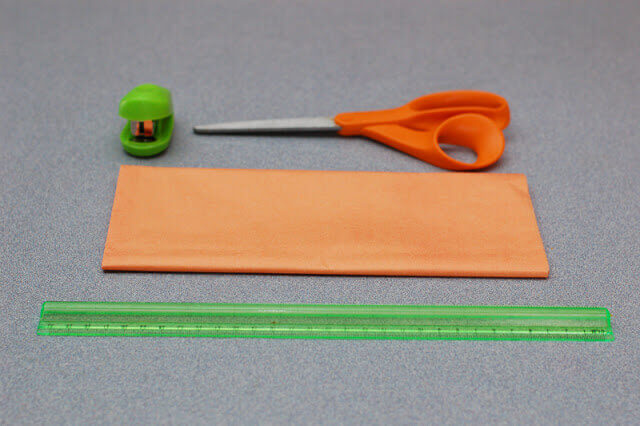
Cut the tissue paper into strips approximately 4" wide. Happily, this was basically where you find the folds in a standard package of tissue paper.
Don't worry about the edges curling a bit on one side where you cut on the fold--that actually adds volume and separation of the petals and is desirable.
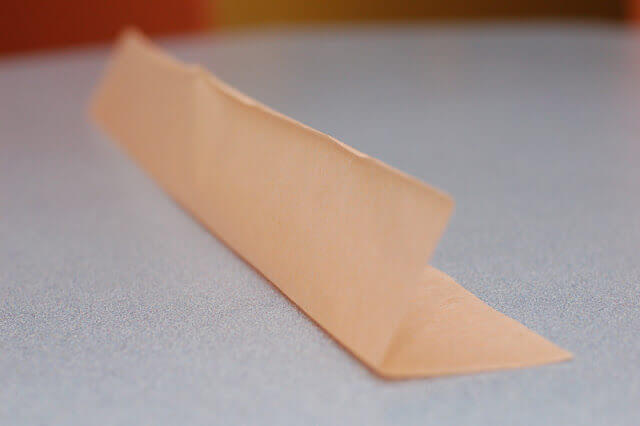
Fold a single layer of the tissue paper in half. Wrap loosely around your finger.
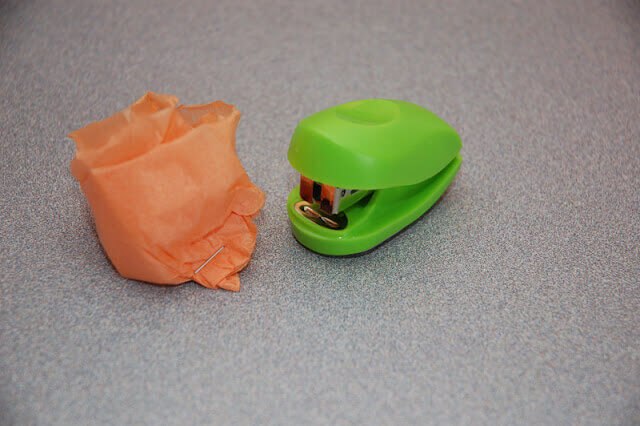
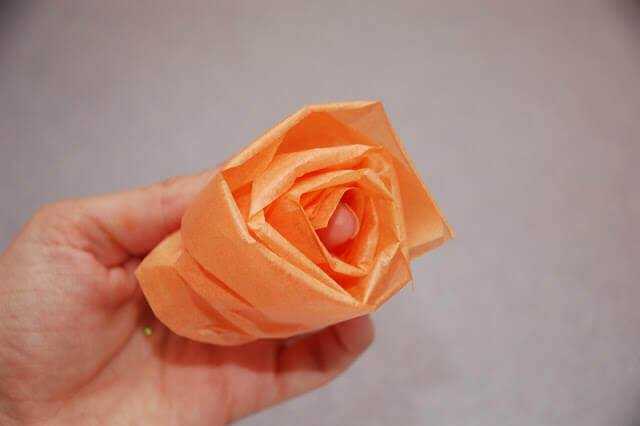
Carefully pull the rose off your finger, and pinch at the base. Staple at the base to secure the rose shape. I used wire to wrap a bunch of the bases, and while that works, it was a lot more complicated, and I'm glad I finally figured out that a stapler worked just as well!
Use a pair of sharp scissors or a drill to punch a hole for the ribbon to hang the pinata. Be careful, especially if you're punching through with scissors! The pinata is surprisingly strong, and it takes some real effort to push through.
Spend some quality time with your glue gun and glue all the roses to the pinata. My pinata was hung high enough that I didn't bother covering the hole on the top, since nobody could see it, but it could easily be covered by gluing a sheet of paper over the gap and gluing roses on top.

.png)