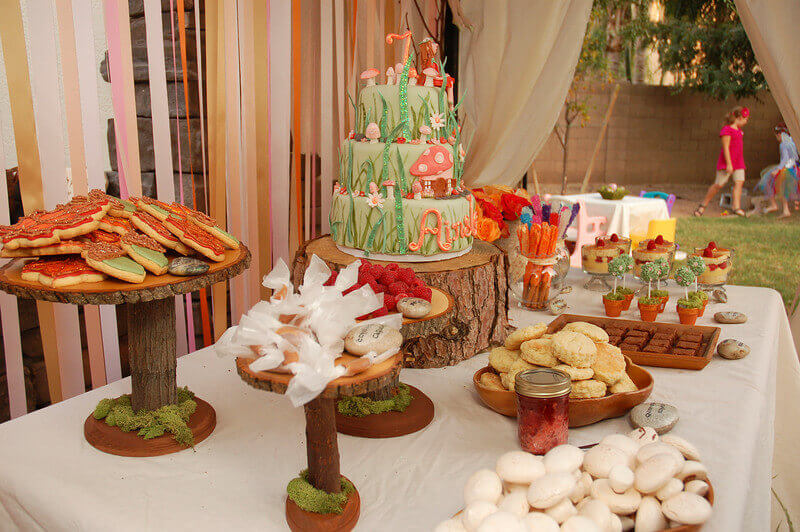
I'm particularly proud of the wooden cake stands I created for the Cornish fairy party's dessert table. I have a larger-than-average cake stand collection, and I have full run of my pastry-chef mother's remarkable collection, but I wanted something truly rustic to fit the woodland fairy party theme. These would be absolutely perfect at any wedding with a rustic-chic vibe.

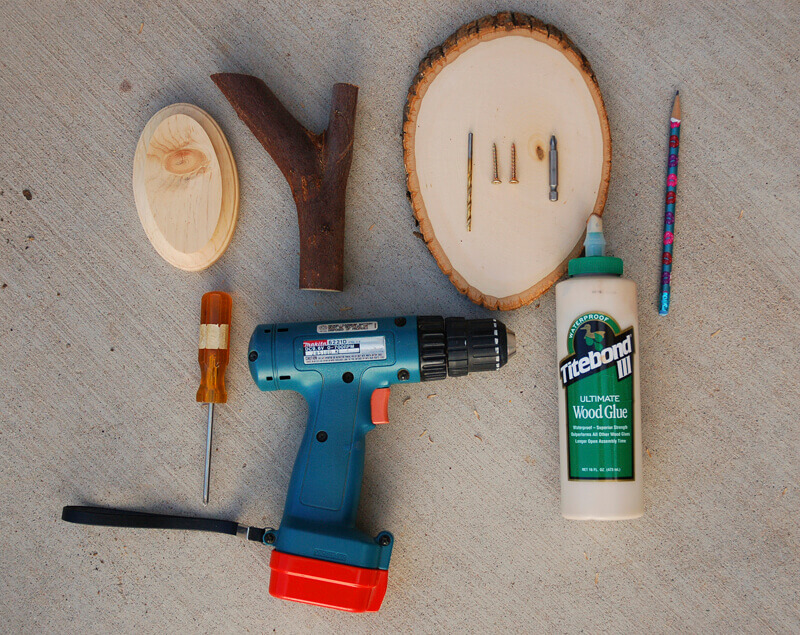
Materials for DIY Wooden Cake Stands:
- basswood round wooden disk (used for woodburning crafts, available at any craft store)
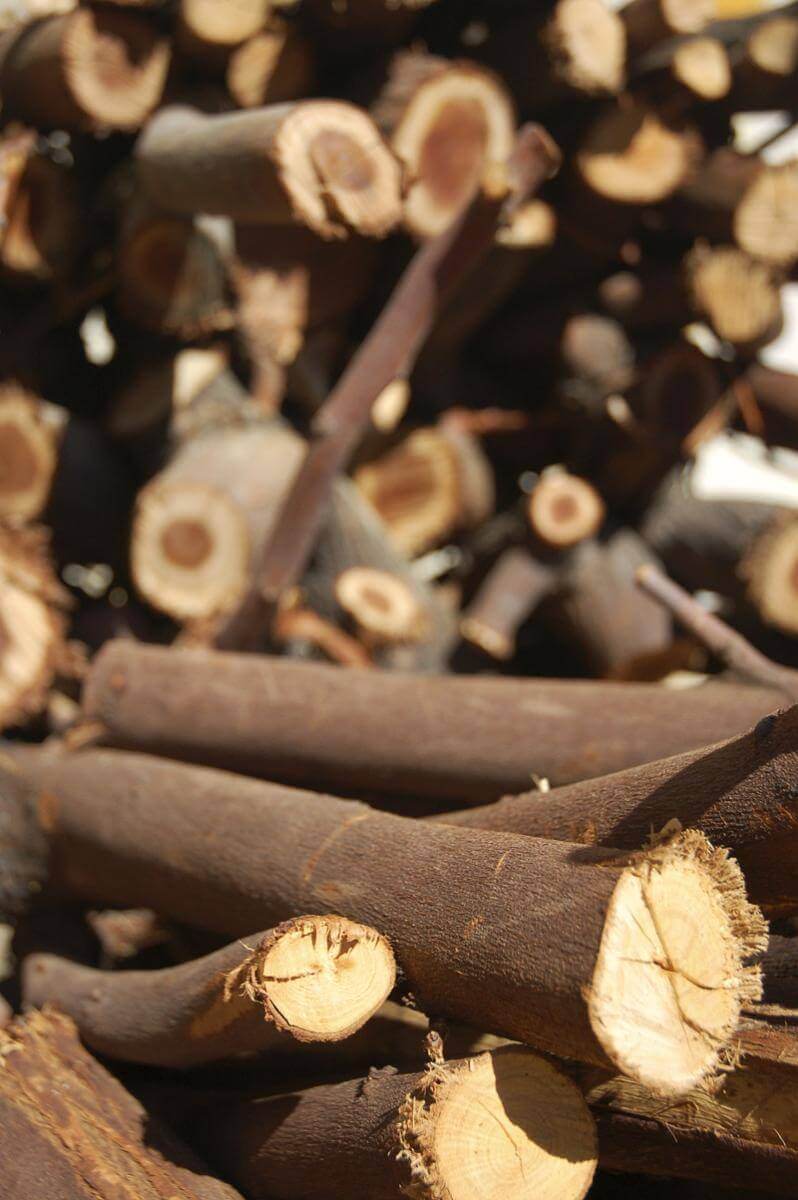
- a piece of branch for the vertical portion of the cake plate, your choice of size and shape.
- a small wooden plaque (also from the craft store. Costs less than a dollar, and will act as your cake stand base. Choose any shape or size you wish, but the diameter should be smaller than the diameter of the basswood round.
- saw, preferably a miter saw
- sandpaper
- wood glue
- 2 wood screws with flat heads
- drill
- screwdriver
- brown paint
- polyurethane
- shellac
- paintbrushes
- dried moss
- hot glue and glue gun
1) Sand the wooden disk and plaque, if necessary. The smoother the wood is, the better the final finish will look! Wipe off any sawdust with a damp cloth.
2) Choose a branch for the vertical part of the cake stand. I like pieces that are fairly straight, but have a smaller branch emerging the best. That bit branching off really adds to the rustic look, but choosing a branch that is otherwise straight and vertical really makes it easier to balance the cake stand and create something usable.

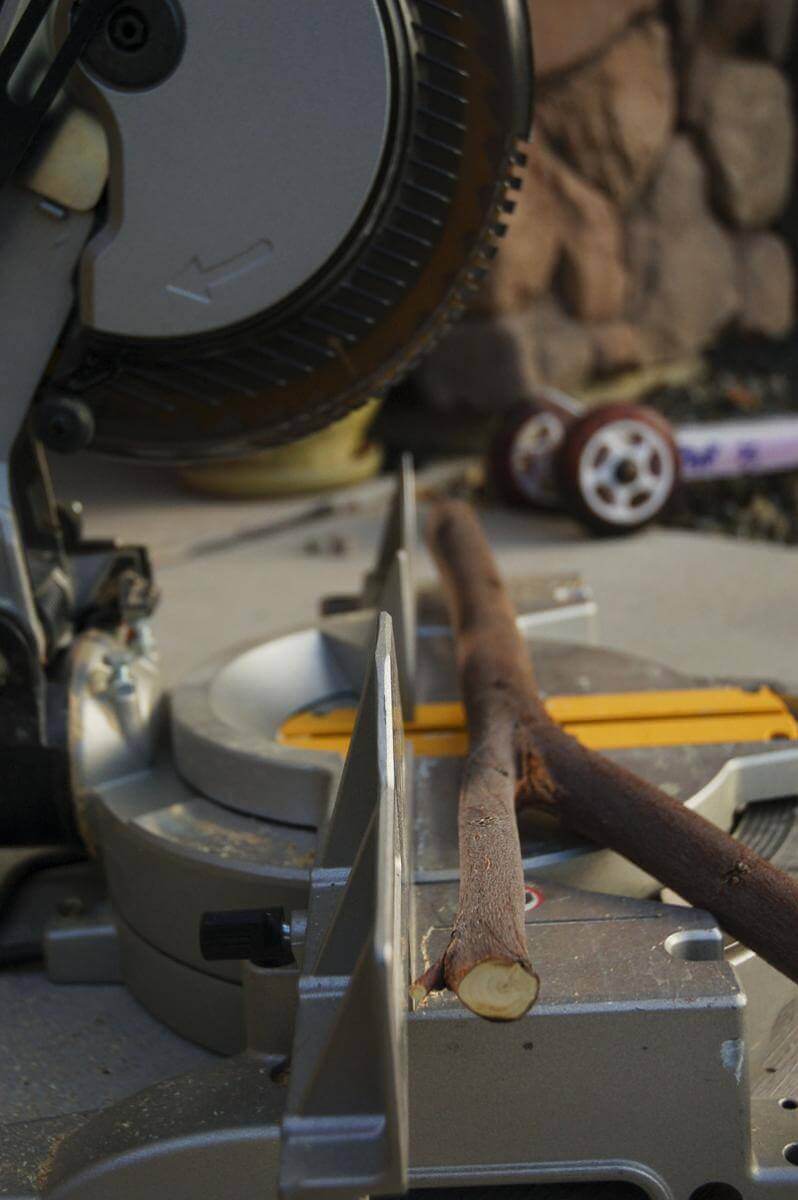
3) Use a miter saw to cut the tree branch to the height you desire. Be sure that the cuts are exactly parallel so that the cake stand will be level.
4) Line up the tree branch in the center of the wooden plaque you'll be using for the base of the cake stand. Flip over so you're looking at the "wrong" side, and drill a hole through the center of the plaque and into the branch. Separate the wood pieces, spread a little bit of wood glue where the surfaces will meet, align them again and screw the two pieces together. Be sure you screw in far enough that the head of the screw gets sunk slightly, or it will make your stand wobble. That's the last thing you want for a cake stand!
5) Repeat the process to add the wood plaque that will serve as the top of the cake stand. Fill the screw hole with a little wood putty, if desired. Once it's covered with goodies, however, you won't notice it.
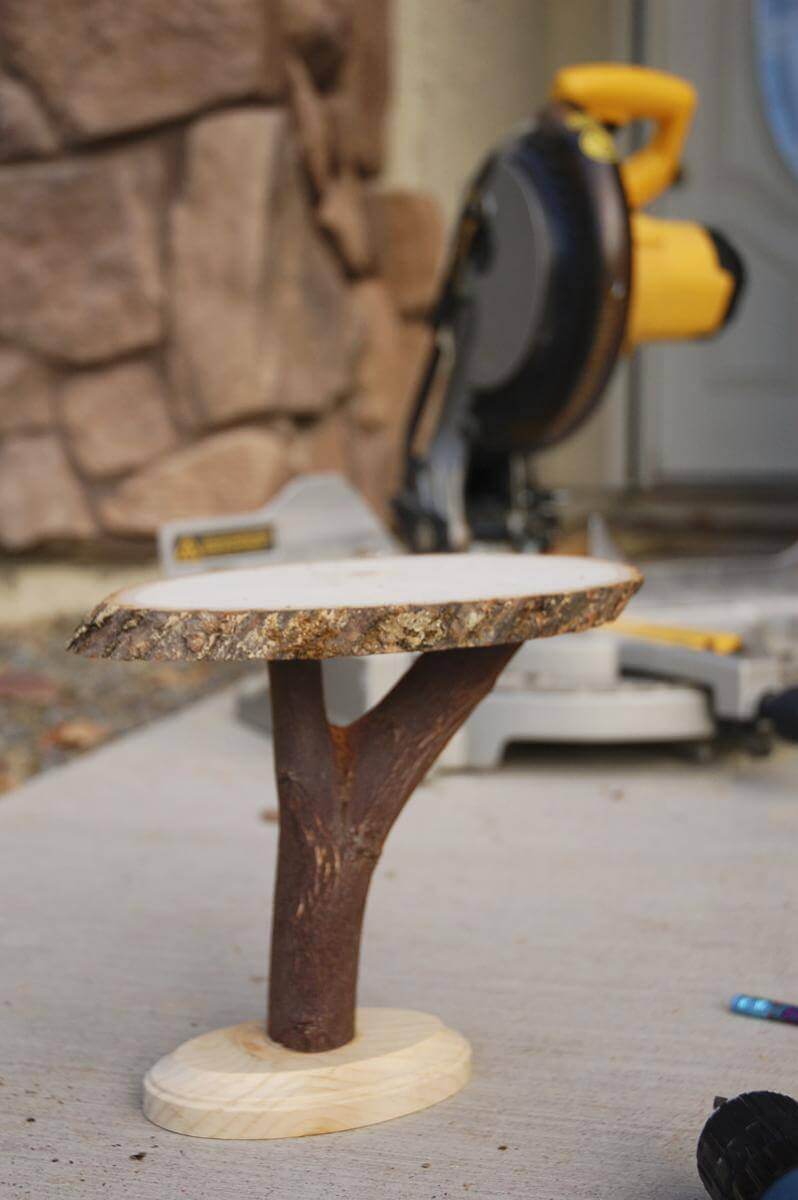
6) Follow the instructions on the polyurethane can and coat the top of the cake plate. Do not polyurethane the base of the cake plate. We're working with at least two, probably three kinds of wood, and the color won't look right. Craft paint is a much easier option. You could stain both the top and bottom pieces, but I opted to paint the bottom section with brown paint instead of trying to stain both the bottom and the top pieces to a matching color. I didn't want the top disk stained a darker color, because I wanted to see the contrast between the polyurethaned wood and the darker bark on the edges.
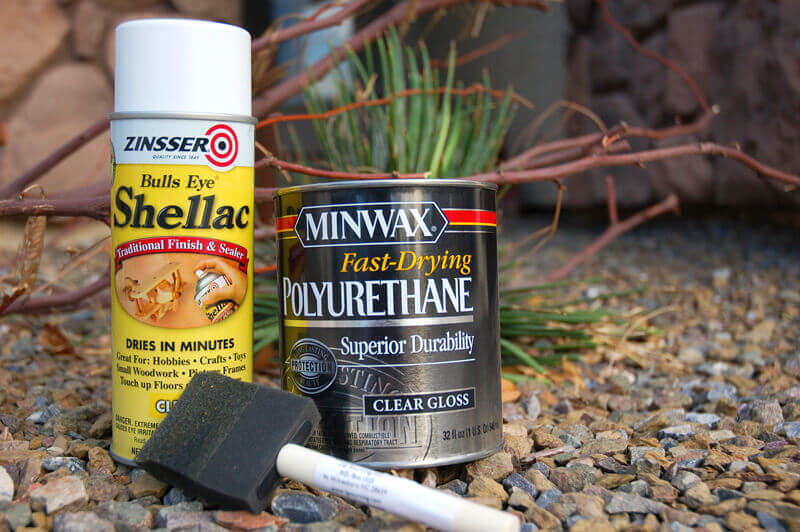
7) One all polyurethane and paint is dry, use shellac to add a high gloss finish, if desired.
8) Adding a little dried moss with a glue gun made a big difference visually, and added the perfect woodland finishing touch.

9) Load up the cake platters with gorgeous confections and admire!

.png)
Comments
Ingenious :)