Here's the tutorial on the invitations I made for the Cornish Fairy party. And while these were spectacular for a child's birthday party, the technique would be equally marvelous for wedding programs.
Invitation Materials:
- invitation or program text, formatted and printed
- pretty paper for the endpapers, cut to 8.5" x 11" size (one for each invitation)
- cardstock for the cover, 12" x 12" size
- scissors
- glue stick (I prefer UHU brand)
- craft glue
- sewing machine (could use needle and thread, but it would be a lot more time consuming)
Instructions:
1) Write
the story. Yeah, I know, such a simple, short instruction for such a big task. The best advice I have is just write. Don't worry if it's perfect. Don't worry if it's perfectly awful! Just get something complete. Once you go back over it and start to rewrite it, you'll probably find you like it a lot better than you thought you would! Give yourself several days for this process. I always see new things when I give myself some space before going back for another look. And have someone else do a round of editing for you. Having a good editor is one of the most valuable resources in the world. Don't be shy--they
will see things you miss, because you're too close to the project.
2) Format the story for printing as a booklet. This is tricky, definitely. The way I was able to figure it out was to first format the story to look kind of like a book on screen--landscape layout, two columns to create the facing pages. If you just printed it out like this and folded the sheets, however, the pages would be in the wrong order entirely. Print out a copy, then cut each page apart. Fold blank pieces of paper in half, then tape the printed pages to the blank pages in the correct order. It's just a little bit of puzzle work, and comes together pretty quickly.
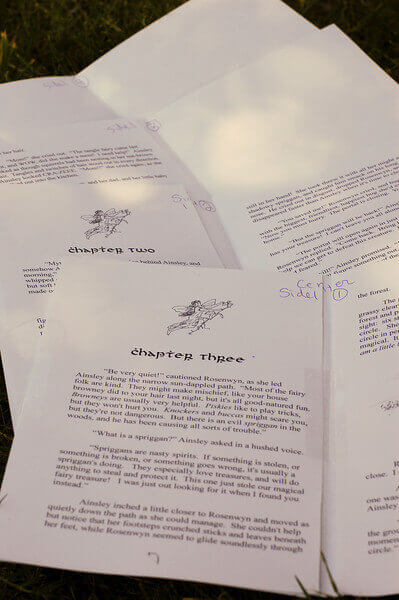
Once you have it all puzzled out, label each side well! This will be your roadmap when formatting the document and assembling the printed pages.
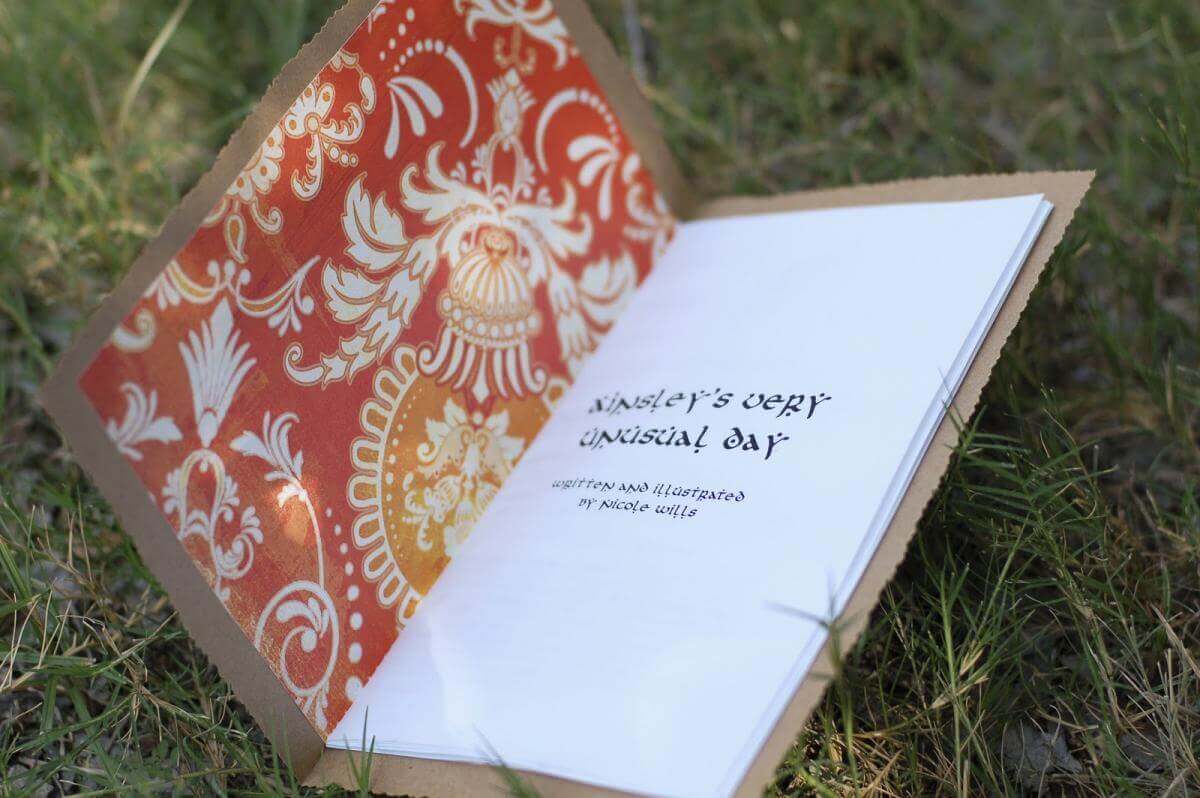
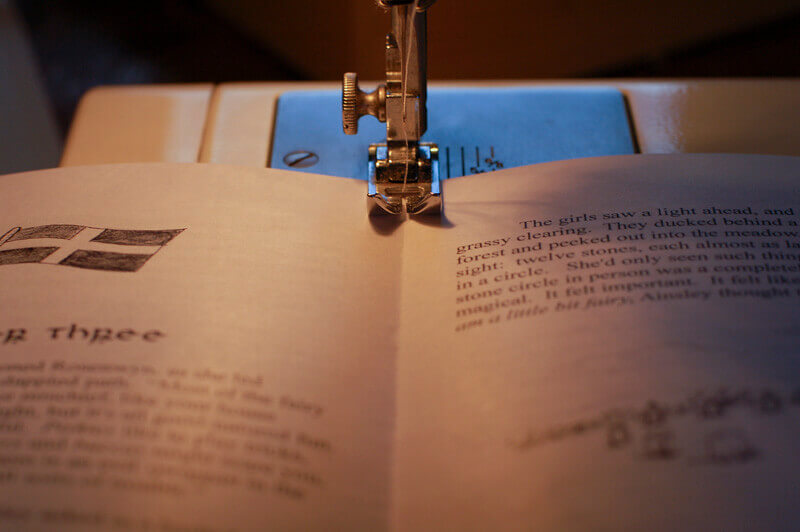
3) Once all the text pages are printed and folded, it's time for the fun stuff. Fold a decorative piece of paper in half, and nest it with the folded story text. Open up the stack of paper, and sew down the center fold using a sewing machine or needle and thread.
4) Fold your 12x12 piece of cardstock in half. Yes, it's too big--we'll trim it later. Use your glue stick to glue the end papers to the cover cardstock. Use a ruler, pencil, or just your hand to smooth the paper and apply even pressure. Once both sides are glued, fold the book together and let sit under a heavy book while you glue the next one.

5) Trim excess cardstock from the cover, using decorative scissors, if desired.
6) Cut a strip of
birch bark to length to create the rustic binding. Glue to front, using regular craft glue.
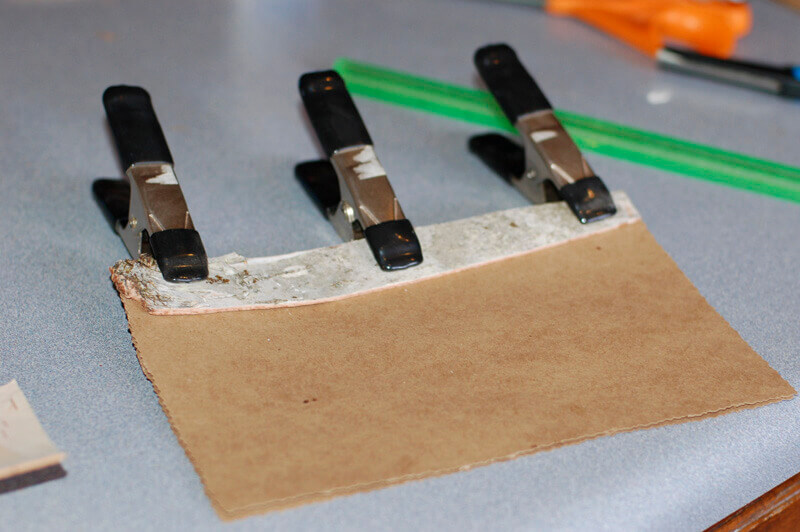
I used clamps to hold the bark in place until the glue dried, but stacking heavy books on top worked perfectly well, too.
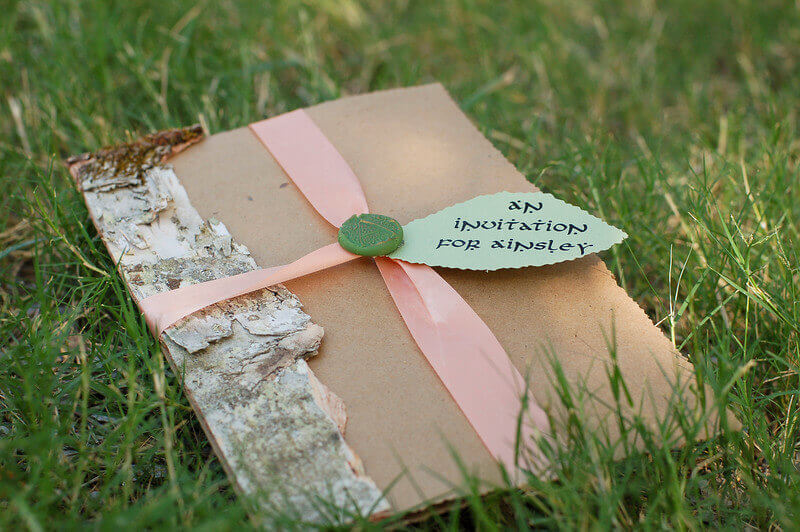
7) Tie a ribbon around the invitation, tie a name tag on if necessary, and use a hot glue gun to add a
faux wax seal to the center.
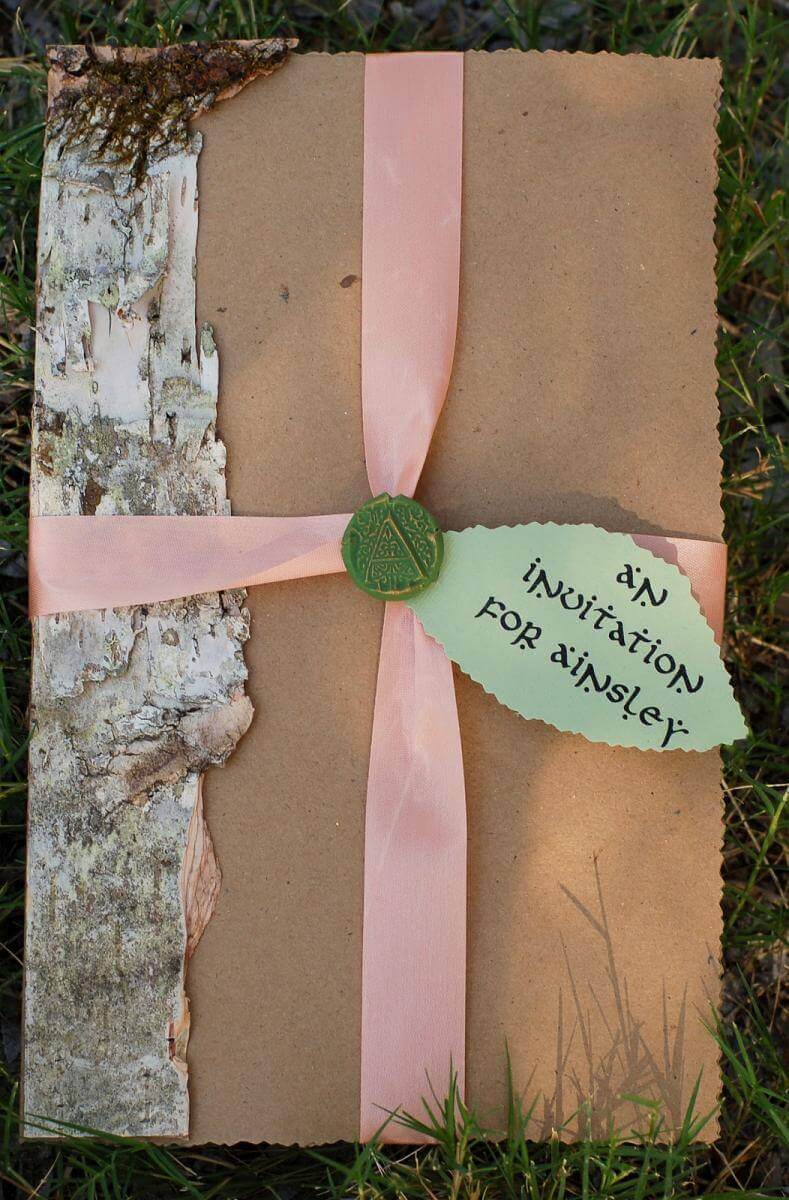
There you have it! A bit time consuming, yes. But completely worth the effort! These invitations made a spectacular first impression, and set the scene for the
Cornish Fairy Party to come.

.png)
Comments
Great tutorial... I really LOVED the story and pre...