For some reason, ideas for backdrops are usually the last bit of inspiration to come to me. I have no idea why, but it's awfully inconvenient. I had the idea for the backdrops for the tables at our gingerbread house decorating party at just about the last possible moment for me to be able to pull it off.
Now, at our gingerbread house decorating parties, there is absolutely no need for a dessert table. We have an obscene amount of candy for decorating the houses, and everyone nibbles on the sweets (and usually some of the icing, too).
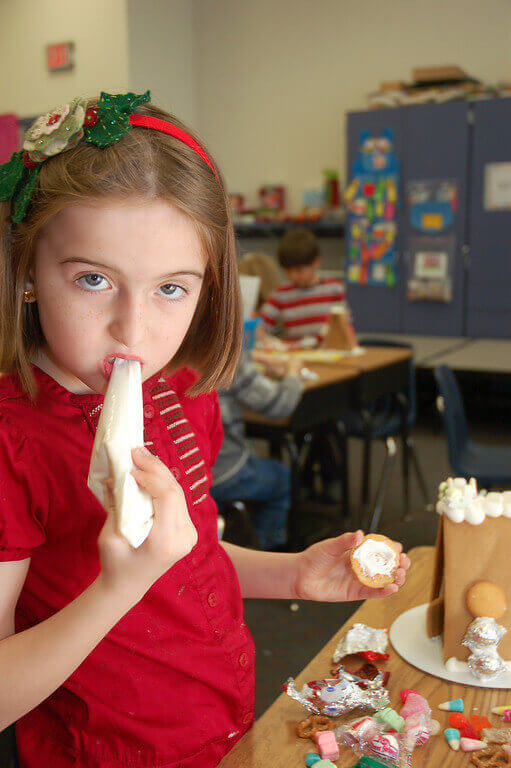
Caught!
No, no need for a dessert table as well. But savory food to provide a salty antidote to the sweets and beverages are definitely necessary. Still, when I came up with the idea for a table backdrop that was a cookie display, I just had to add sugar cookies to the party to-do list!
I envisioned a winter countryside scene, one reminiscent of folk art paintings. I chose this for two reasons: first, it's charming, and second, the style of painting is pretty simplistic and easy to mimic. There's a two-dimensional quality to folk art, a lack of perspective and proportion. In other words, if I did a poor job on the perspective of a house, or if something wasn't really the right size, I could say, "Yes, that was a stylistic choice, completely intentional and in the style of the genre!" ;-)
Making the backdrop itself was very simple. I just bought two 4x8 footStyrofoaminsulation sheets from Lowes. I cut one in half to make the basic backgrounds, two 4x4 foot squares. I was using four-foot long tables, so the size was ideal.
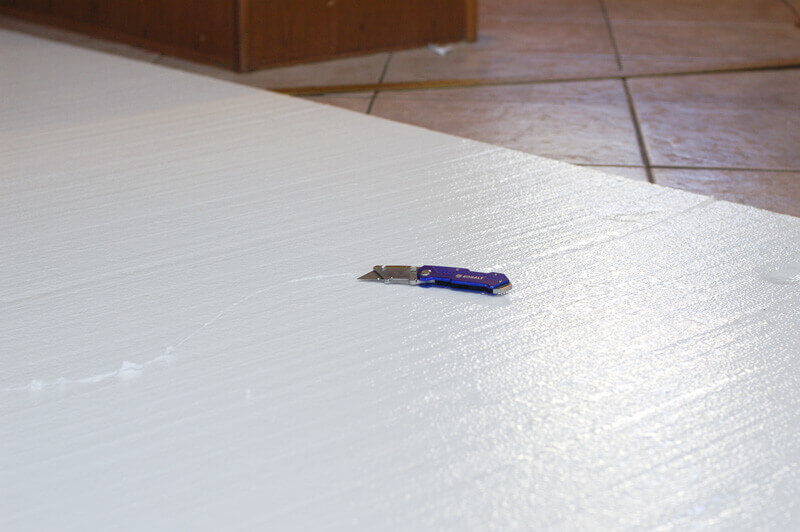
I then simply used my utility knife to cut pieces of the secondStyrofoaminsulation sheet in random wavy lines to resemble snow-covered hills. I glued them together with a little construction adhesive, and I was ready to paint.
And by paint, I don't mean anything fancy. I wanted to tame down the tell-tale sheen of theStyrofoam, so the snow-covered hills got a coat of white craft paint. The sky was painted a deep blue. I threw a little glitter on the hilltops for good measure--I can't resist sparkle--but it was incredibly easy.
I did a little bit of shading to help define where each layer of hills met, but really, it was a subtle thing and not necessary.
The things that made it all come together, however, were the cookies.
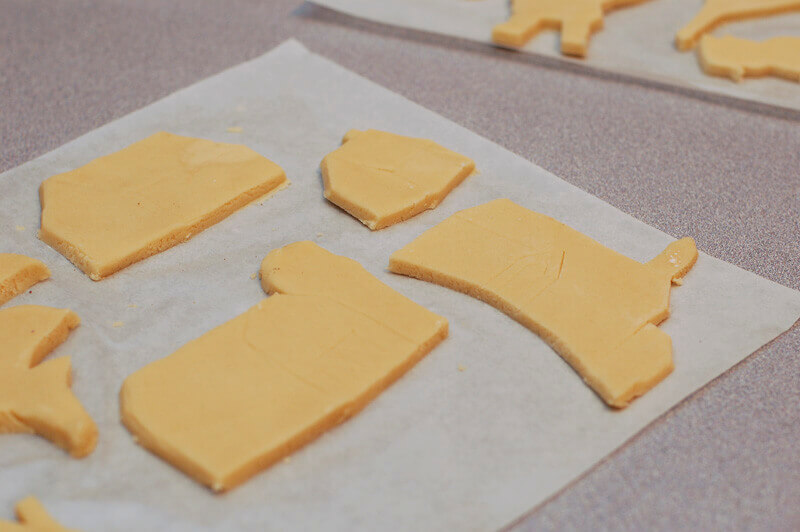
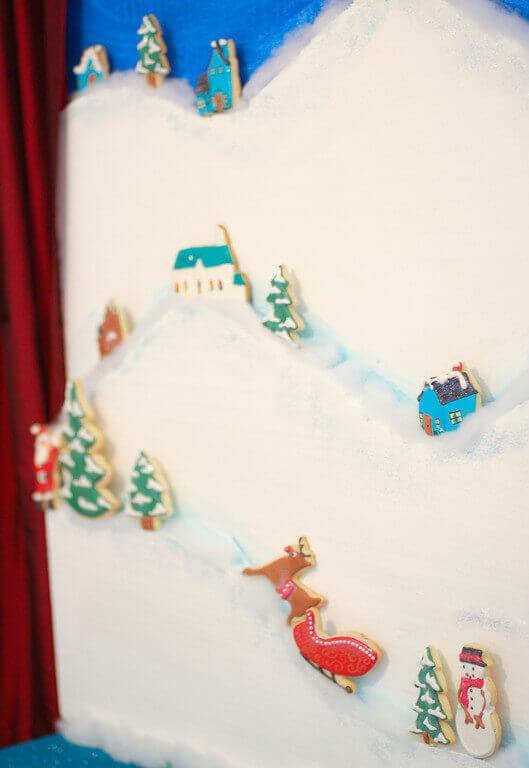
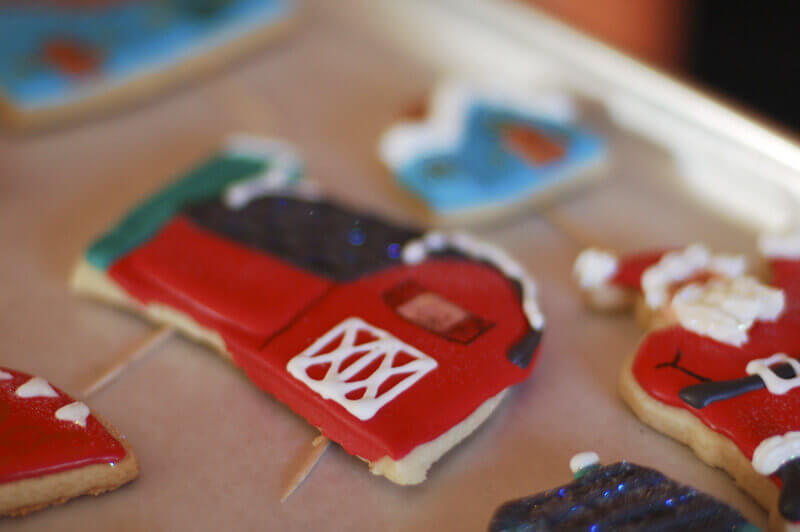
I simply hand-cut out shapes of buildings for my little town. Barns with silos, houses, a church, etc. All very simple structures, again inspired by folk art paintings. I used three sizes of Christmas tree cookie cutters, a leapingreindeer, a sleigh, aSanta, and a snowman cookie cutter for the rest of the cookie shapes.
You'll notice that I cut curves on some so that they'd fit better against the snowy hills I created for the backdrop. I did not have an exact plan. I just knew I'd place some on tops of hills, some at bottoms, and some on slopes going up, some on slopes going down. I did it completely randomly, and chose where to place the cookies after they were all baked and decorated. No need toover-thinkthis and engineer it to the closestmillimeter. Just winging it worked beautifully.
Once the cookies were iced and completely dry, I used royal icing to adhere toothpicks to the backside of the cookies.
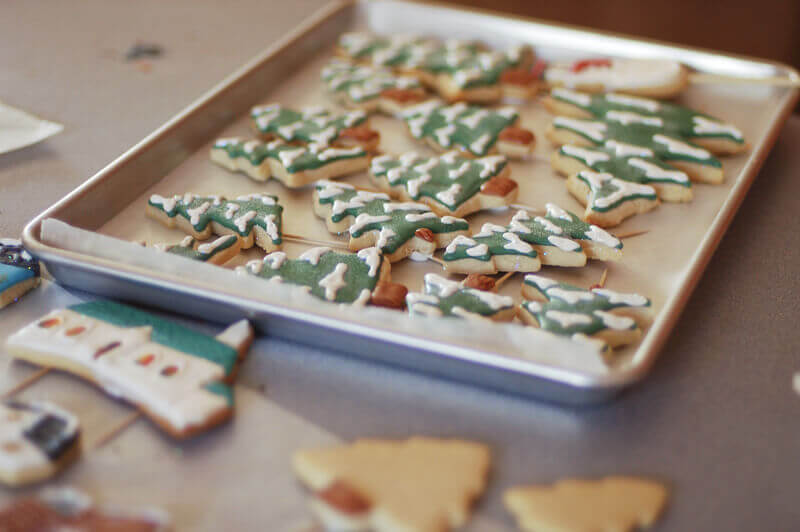
One was enough for small cookies, like trees and snowmen, but larger cookies got two toothpicks. I originally thought I'd use bamboo skewers, but that Styrofoam turns out to be tougher than it looks, and it was way easier to slip in the slim toothpicks.
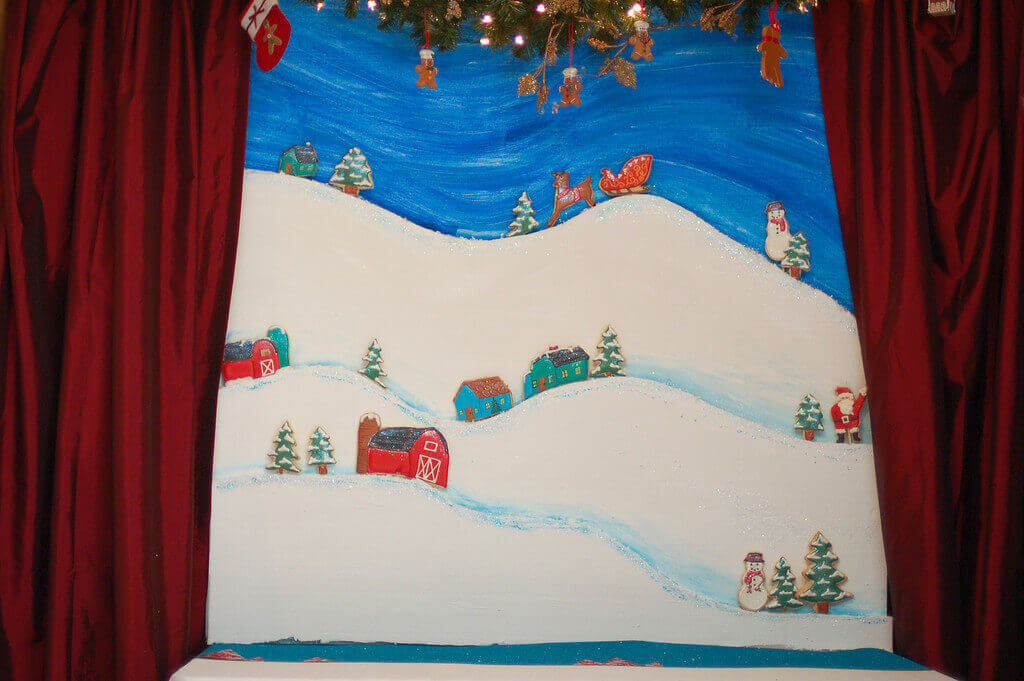
Once the skewers were completely dry and attached, it was simply a matter of placing the cookies on the snowy hills and vales, and admiring my display.
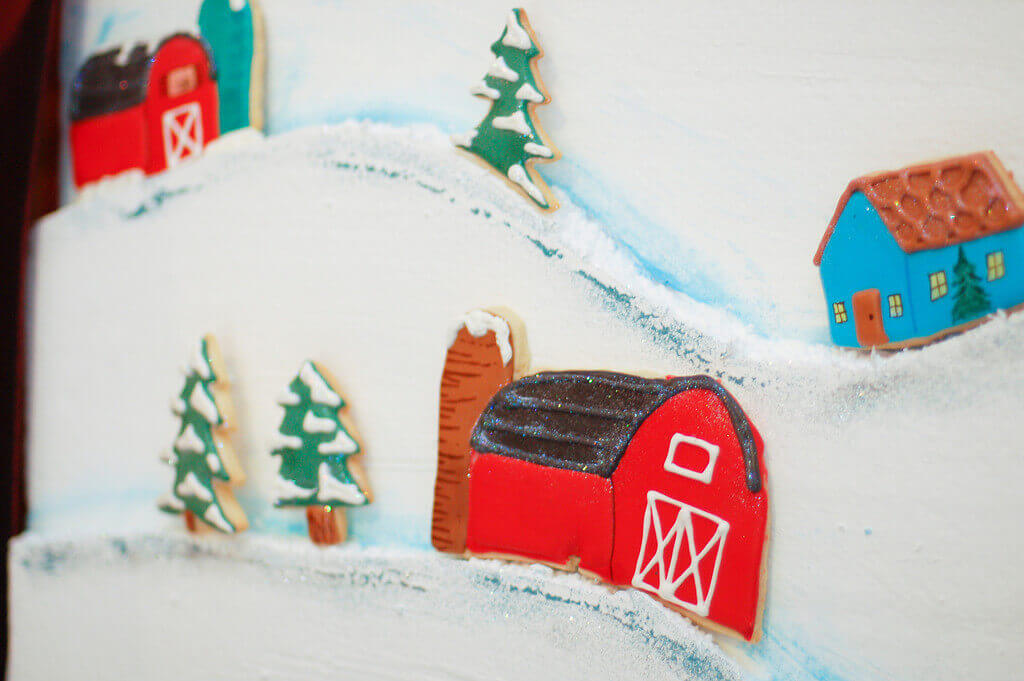

They made the perfect whimsical, magical, Christmastime backdrop, especially when flanked with red curtains so they looked even more like gazing out a window on a tranquil winter scene.
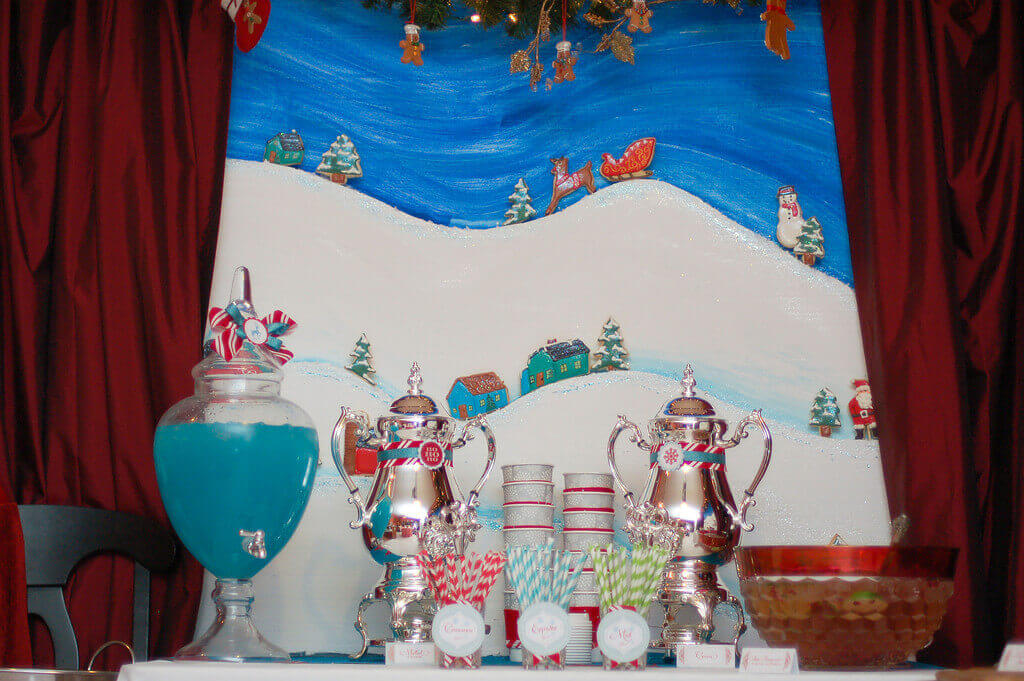
The only problem? People had to be vigorously encouraged to eat any of the cookies! They didn't want to take anything away from the display. But with a little nudging, they got over it. ;-)

.png)
Comments
One of the most innovative, creative use of cookie...
The huge backdrop display often comes to me last a...
You should seriously write a book on entertaining!...